All posts by pamscraftyblog
Bratzs Slipper Pattern
Using and “F” hook
Ch6, 2hdc in 3rd ch from hk, 2hdc, 3hdc in last ch. Now work on the opposite side of the chain. Start with 2hdc, hdc in the same sp as join. Join with a slst.
*Working in back lps only
Rnd 2: Ch2, hdc in same sp and in wach hdc around. Join with a slst.
Rnd 3: Ch2, hdc in same sp, (3hdc tog)3 times, 3hdc, Join with a slst.
Rnd 4: Slst around. Fasten off. Tie in ends. Repeat Rnds 1 to 4 for second slipper.
Tween Bratzs Robe
“F” hook
Ch16, sc in second ch from hk and in each ch across.
Row 1: *(2sc, 3sc in next sc)*rep from ** once, 3sc, 3sc in next sc rep**once.
Row 2: Ch 1 turn, 3sc, ch2, sk 6 sc, 5sc, ch2, sk 6sc, 3sc, ch2 turn.
Row 3: Hdc in same st as ch2 and in each sc and ch across. Ch2 turn.
Row 4: Hdc in same sp as ch2, hdc to end, 2hdc in last hdc.
Row 5: Rep row 3 (6 times) Do not fasten off.
To finish around the outside and to make a a collar. At the end of row 11, ch1 and make 1sc evenly up the side of the robe, for neck edge 2sc in corner, 3 hdc, 2hdc in next sc, (2hdc, 2hdc in next sc) rep once, 3hdc, 2sc in corner, 1sc evenly spaced along opposite side of robe. when you reach the bottom (Ch3, sc in hdc) rep arcoss, join with a slst and fasten off, tie in ends.
Sleeves For Robe
Join yarn with a slst on the ch part of the arm hole. Ch 2 hdc in each ch and sc around. Join with a slst. (11hdc)
Rnd 2: Ch1, sc in same sp as ch and in next 2 hdc, 6hdc, sc. Join with a slst.
Rnd 3: Ch2, hdc in same sp as ch, 1 hdc in each st around. (10hdc)
Rnd 4: Rep rnd 3. Fasten off. Weave in ends. Rep rnds 1-4 for second sleeve.
For Tie Ch41. Fasten off. Thread through middle sc in back of robe. Your all done! Enjoy!
Bratzs Sleep Mask
With an elastic big enough to fit nicely on the doll’s head. Join yarn with a sc around the elastic. Note* You will be crocheting around the whole elastic. I did 39 sc join with a slst. For the eye pieces. Ch1 sc in same sp, hdc, 2hdc in next sc, sc, slst, sc, hdc, 2hdc in next sc, hdc, sc. Fasten off. Weave in ends. Now your Doll is Ready for Bed! Have fun! Thanks For looking.
If you have any questiond please leave me a message or if you just like my pattern let me know! Thanks for looking
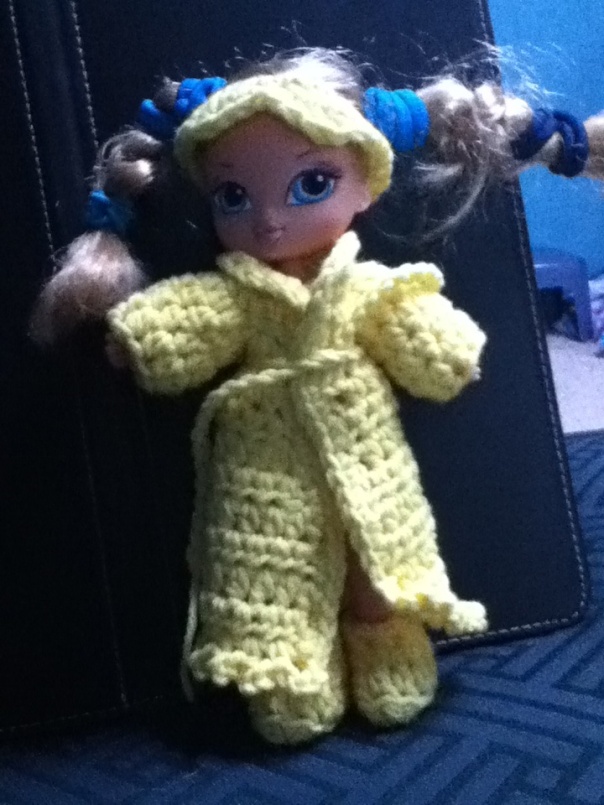
Bratz robe, slippers and sleep mask
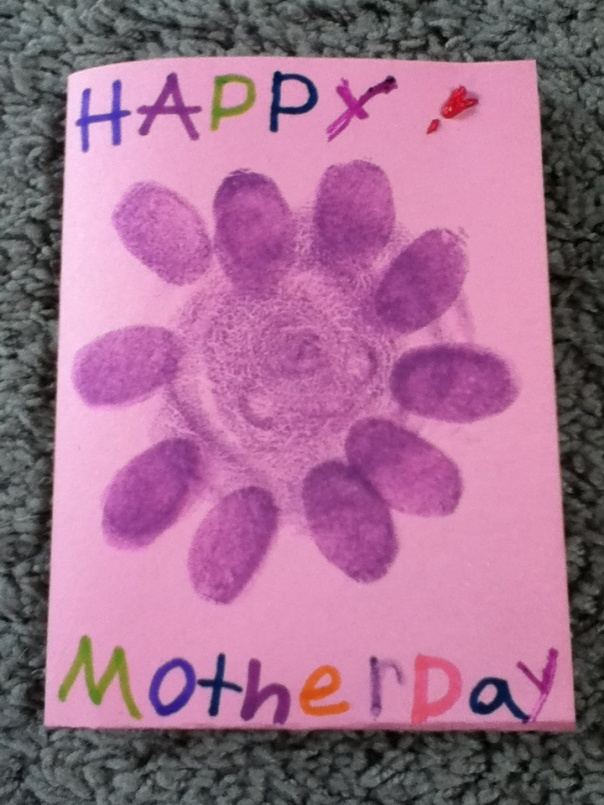
Happy mom’s day!
Free pattern for Ken doll tank and shorts

I had been trying to find easy patterns to make Ken doll clothes that didn’t require super small hooks and yarn that is hard to find. I came up with this pattern. I hope you enjoy it and please make as many as you like. Please don’t sell my pattern. Feel free to do what you like with your own finished project.
Tank top or shirt.
I used an “F” hook and sport weight yarn.
Working from the bottom up. Ch 33,turn,sc in second ch from hk,con’t a sc across.
Row 2-12:Ch1 turn,sc in each sc across.Do not fasten off.
You have now completed the bottom of the shirt we will now be making the neckline and armholes.
Ch1, sc in next 7sc,ch10,sk3 sc,sc in next 12sc,ch10,sk3,sc to end. Ch1 turn.
Row 2: Sc in each sc and ch across, ch1 turn.
Note: Stop here for tank top. Fasten off. Tie in ends and sew fasteners to the back.
Continue on to row 3 for shirt.
Row 3: Sc in next 5sc, *sc2tog,1sc* Rep from** 4times, 1sc in next 7sc,(*sc 2tog,1sc*)4times, sc in last 4sc, ch1,turn.
Row 4: Sc in next 2 sc,hdc,*hdc 2tog* rep from **9 more times, hdc,sc in next 3sc, ch1 turn.
Row 5: Sc in next 3sc, sc2tog,10 times, sc in last 2sc, ch1 turn.
Row 6: Sc in each sc, fasten off. Tie in ends. Sew snap fasteners to the back of shirt.
Sleeves
*With right side facing* Join yarn with a slst in first sk sc underarm, sc in each sc around. (16sc total) Do not join.
Rnd 2: Sc in each sc around til you have 16rnds from first joined Rnd.
Next Rnd sc, sc2tog around.
Work 2 more rnds of sc. Fasten off. Tie in ends.
This is for long sleeves but for shorter sleeves only sc 4 or 5rnds. Then fasten off. You can also put the fasteners on the front to make it a jacket. I will post more pictures of the different shirt looks. If you have any questions please feel free to ask. Thanks for looking!
Shorts or pants
You will need a 5″ elastic or you can sew together a thin piece of elastic measuring the same length.
I used an “F” hook size and about a sport weight or sock weight yarn.
Start by making a sl knot on your hook and we are going to sc crochet around the piece of elastic 30 times. This creates the waistband for the shorts.
DO NOT JOIN. We will be working in the rnds for this piece.
Con’t crocheting around on a circle for 7rnds. *You may want to place a marker at the start so you know when you have reached 7 rnds.
Now we will begin the leg, your piece should be at the back center where you started Ch3, sk13sc,sc in next sc and each sc around starting the first leg.
Rnd 2: Work 1sc in each ch and sc around.
Rnd 3: Con’t working in the rnd for 2 more rows. Or desired length. *Note for pants I con’t in the rnds til pants leg measures 4 1/4″.*
Fasten off and tie in end. Now your ready to start the other leg.
Join yarn in back of next leg, I started with a ch2 for the first sc then rep Rnds 2 and 3 til you have the desired length.
Please send me a message if you have any questions. I have tested and tweaked my patterns but there may still be mistakes. Please feel free to copy and sell what you make but please do not sell my patterns. Have Fun! Thanks for looking!
Welcome to my new blog!
Hi, my name is Pam. I am a born again Christian. I love to crochet, knit and sew. Mostly I crochet which is why I wanted to start this blog. For a long time I have been using other amazing crafters free patterns, they have inspired me and helped me try many new things. So now I wish to share some of my own creations with those who just might be looking for the same things I was and was unable to find. I hope you find them fun and helpful.
